My Homemade Solar Panel
The purpose of this post is to show you how easy it is to make a FUNCTIONING solar panel with common materials!And of course, to provide you with the necessary information about building one! Note: my solar panel is a very very basic one. I will elaborate more later.
Things You Will Need:
Acrylic Sheets (CLEAR - Size up to you)
Solar Cells (I used multi-crystalline solar cells but Monocrystalline Solar Cells will do fine too)
Tab Wire (No idea what is this? Don’t worry, will explain later)
Bus Wire (No idea what is this? Don’t worry, will explain later)
Soldering Iron + Solder (Required for tabbing)
Desoldering Wick (If you solder wrongly)
Flux Pen
Typical Specifications of such multi-crystalline solar cells (6” x 3”)
3.6 Amps, 1.8 Watts, 0.5 Volts
Thickness: 0.2 mm (It’s super thin!)
Weight: 8 grams
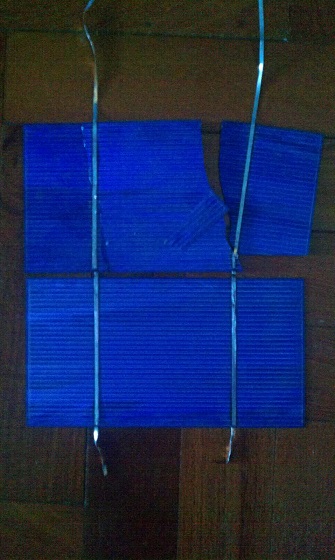
The multi-crystalline solar cells are EXTREMELY fragile. They snap easily into two.(I’ve broke two solar cells because i accidentally sat on them.) The NEGATIVE side is on the blue side of the cell (Sunny side). The POSITIVE side is on the back side of the cell (Shady Side). Hence, to connect 2 solar cells in SERIES, you will need to connect “wires” from the top of the FIRST cell to the back of the SECOND cell. The “wires” here will be the tab wires (Specialised wires for solar cells). There are 2 thick wire bars running along the sunny side of the solar cells and 6 conductive squares at the back side of the solar cells.
Connect The Cells
To obtain a voltage that is easier to work with, you will need to connect solar cells in series. A good working voltage will be 15 V to 23 V. (This depends on the working voltage of your inverter - more about inverters in What You Need To Know Before Going Solar) To get that kind of voltage, you will need to connect around 30 to 46 cells in SERIES.(Around 54W to 83W)
Pictures of my homemade solar panel
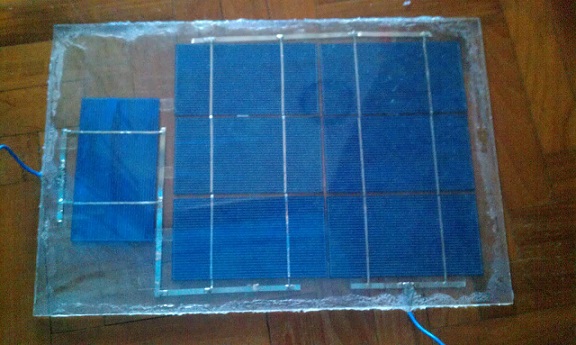
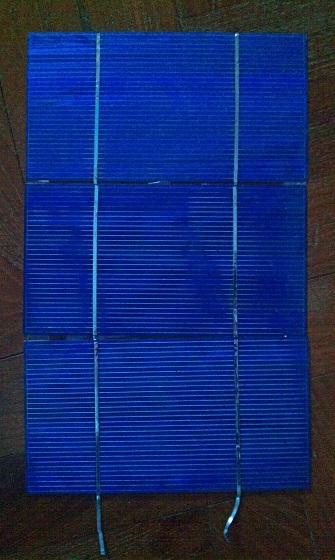
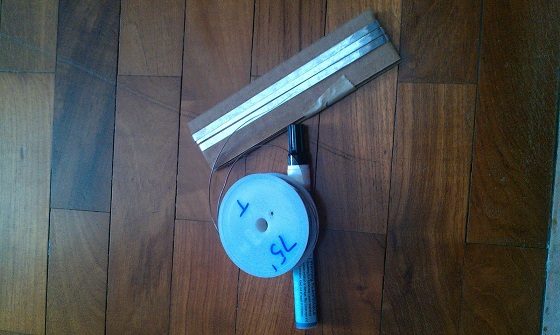
These are the author’s photographs of the panel, connected cells, a damaged cell and connecting wire.
Tabbing the solar cells (front): (Note: You can buy PRE-tabbed solar cells to save time + effort but its more expensive)
- Cut out a few suitable length of tabbing wire (around 5.8” - 6.0” would be sufficient).
- Use the flux pen and run through the 2 thick white bars. (Don’t breathe in the fumes)
- Power up the soldering iron. (Careful: Hot surface!)
- Place and align the tabbing wire properly on one of the thick white bar.
- Touch the tip of heated soldering iron tip on the tabbing wire.
- Now, slowly shift the soldering iron down.
- Test if the tabbing wire is secured to solar cell. If it is not, do it again.
- Tab the second thick white bar.
- You’re done! (For this)
Video of the tabbing process:
Connecting 2 solar cells
Now, you got a cell with 2 tabbing wires sticking out. Take a second solar cell. Flip the first solar cell(tabbed) and the second solar cell over. Now you got 2 cells at their shady side. SOLDER the tabbing wires of the first solar cell to the 6 small white squares of the second solar cells. You have just connected 2 solar cells in series!(the circuit is not yet completed!)
Bus Wires:
Bus wires are to connect 2 different strings of solar cells. Solder the tabbing wires to the bus wire. The bus wires are thicker and hence can handle the larger current. A good way of thinking is: tabbing wires are the minor roads, bus wires are the highways/major roads.
Connecting 2 strings of solar cells
Take very careful note of the polarity!
Glue the solar cells strings to the acrylic sheet
Plan the layout of your solar panel first! VERY IMPORTANT!!
My solar panel design comprises of 2 acrylic sheets enclosing the 7 solar cells. I do admit that there are quite a bit of wasted space. I believe that the cells can be situated close to each other. It is also a bit flimsy. But the panel is VERY light! I consider it to be very portable source of electricity.
Known Issue:
- There may be moisture retaining in the panel after you have sealed it.
Site your solar panel:
- Do not let anything cover the panel from the sun! Very important. If only a few cells are blocked from the sun, the output of the WHOLE panel will drop drastically. Furthermore, you will damage the few cells. (called hotspot heating)